Vertical Gardening
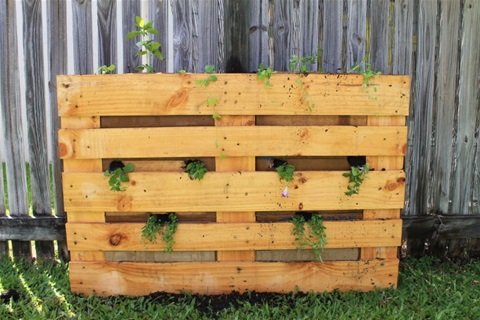
Vertical Gardening is an excellent system for smaller gardens and people living in apartments and the like where space is at a premium. Not necessarily Organic Gardening because we are using a potting mix that may have artificial fertilizer added but still good healthy growing. The version of Vertical Gardening I am going to show you here is one of the least expensive and relatively easiest to construct. There are plenty of commercial alternatives available but they can be expensive and not as compact as this style.
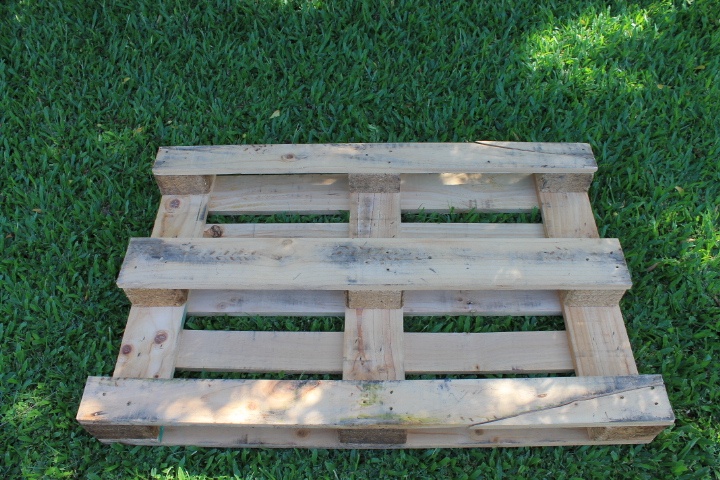
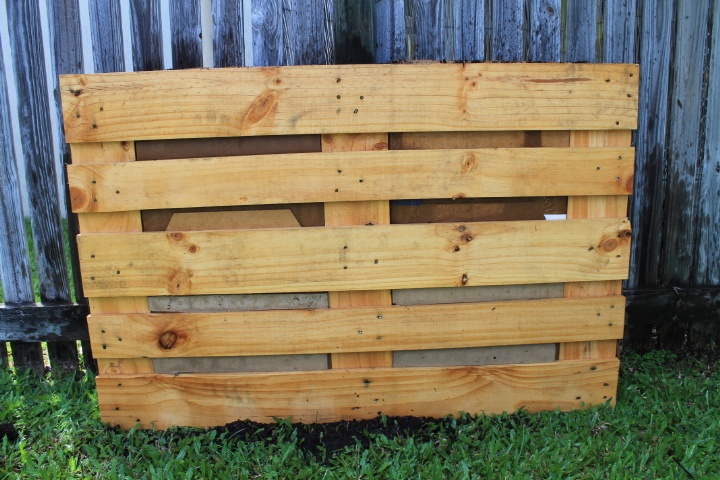
All of the physical material I used in building this vertical garden I salvaged from a recycling bin, I only paid for the potting mix, animal manure and plants. The bare bones of the garden is a wooden pallet, if you can, make sure the timber isn't treated as the arsenic in the treatment can leach into the soil then to the plants you will eat. Obviously, if you are just growing flowers it's not an issue. If you are going to use this system on a patio or balcony make sure you cover the bottom with plastic to stop any excess water that may stain the concrete or pavers.
In this case, I have planted both flowers for show and herbs for the kitchen and teapot. When it comes time to plant your plants have a look at which is going to end up being the largest and make sure these are planted at the top so they have the greatest area to spread out. Then the smaller plants further down and so on. I planted all the Herbs on the very top as all bar one have an upright growing habit which lends them to growing straight up getting more height out of the garden. Use plants that tend to sprawl as their natural growth habit for the face of the pallet, these are the best for this type of growing, compact plants are also well suited. With this layout I planted Sweet Peas on the very top, Petunia's under those and Lobelia on the bottom run.
Listed below I will step by step run you through how to build your own Vertical Garden. (make the garden up as close to where it will stand as you can, it is heavy when finished!)
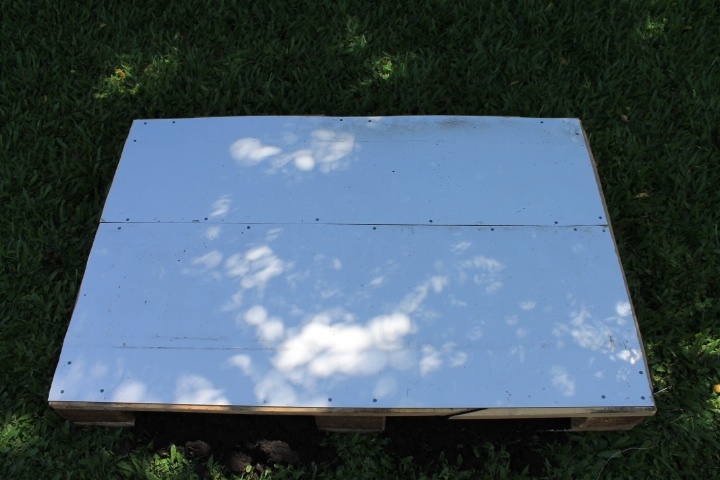
1. Lay the pallet on the ground with narrow slats facing down,
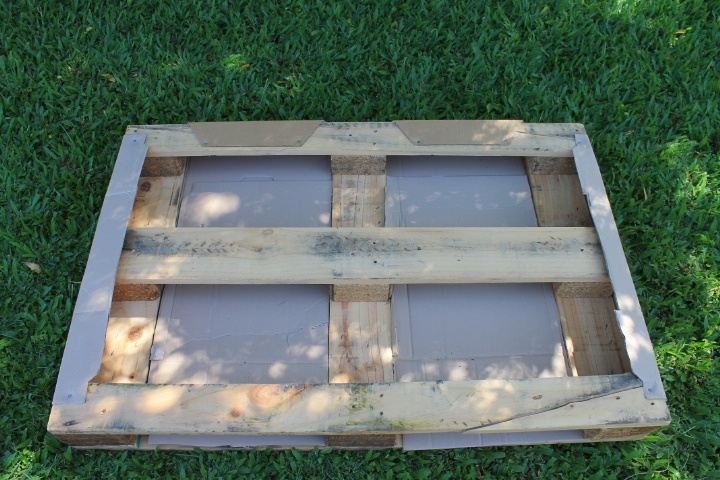
2. Line the inside of those slats with cardboard, line the sides with plywood or the likes and repeat on what is to be the bottom (drill a few holes in the bottom to let out excess water)
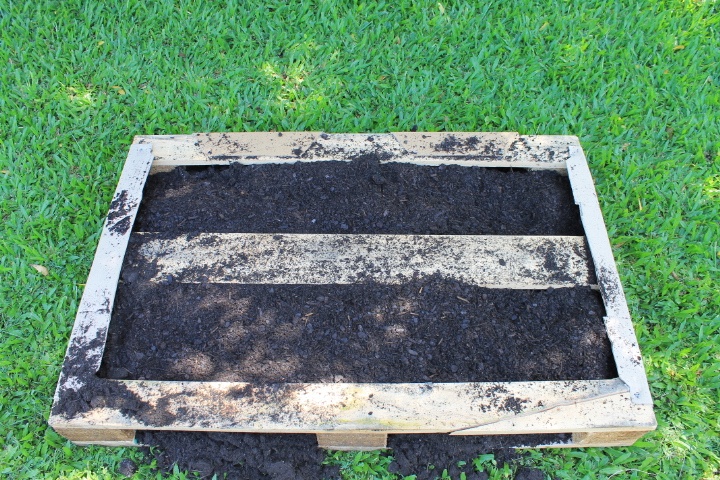
3.Fill the cavity with a 75% potting mix and 25% animal manure mixture.
4. Close in the back side of the pallet with plywood or any hardboard sheeting, nail it firmly as it will have a little weight on it once the mixture is wet.
5. Stand the pallet up in site and fix it to the structure (here I just nailed the top to the post it is leaning against)
6. Pack down the potting mixture and then top it up to just below the top board, now water well until water leaves the bottom when the cardboard is wet it is time to plant out.
7. Cut holes in the cardboard and make impressions where your plants are to go, insert the plants and pack a little more potting mix around the roots so there isn't any exposure to the air when finished.
8. Water the top regularly as this will be the first to dry out initially but give the whole pallet a good water once a week, the plants will soon let you know when they are thirsty.
9. As with any container gardening give them a feed of liquid fertilizer every two weeks or so to keep them active and healthy.
10.As I said you can mix and match your plants, vegetables, herbs and flowers, whatever takes your fancy.
Be Happy,
Barry.
Click here for my Facebook Blog
Latest comments
I want to fertilise my desert roses, what brand fertiliser do I use?😊
For long term residual control use regular liquid fish fertiliser as a foliar spray, another method if your plant is an ornamental is a soil drench with Neem Oil. Cheers, Barry
Christina, I find the best preventative is regular liquid fish fertilizer or if your plant is an ornamental a soil drench with Neem Oil is a great long term residual method. Cheers, Barry
Hi Christina, There are two ways of getting rid of the carcasses, wipe them off with either a damp cloth or paper towel or just wash them off with your garden hose. Cheers Barry